Creating drive or projection surfaces can sometimes be intimidating if you aren’t familiar with the knitted surface functions. Knitted 4 Border Surfaces is a great tool that can be used in a multitude of scenarios even when there are partially looped surfaces involved.
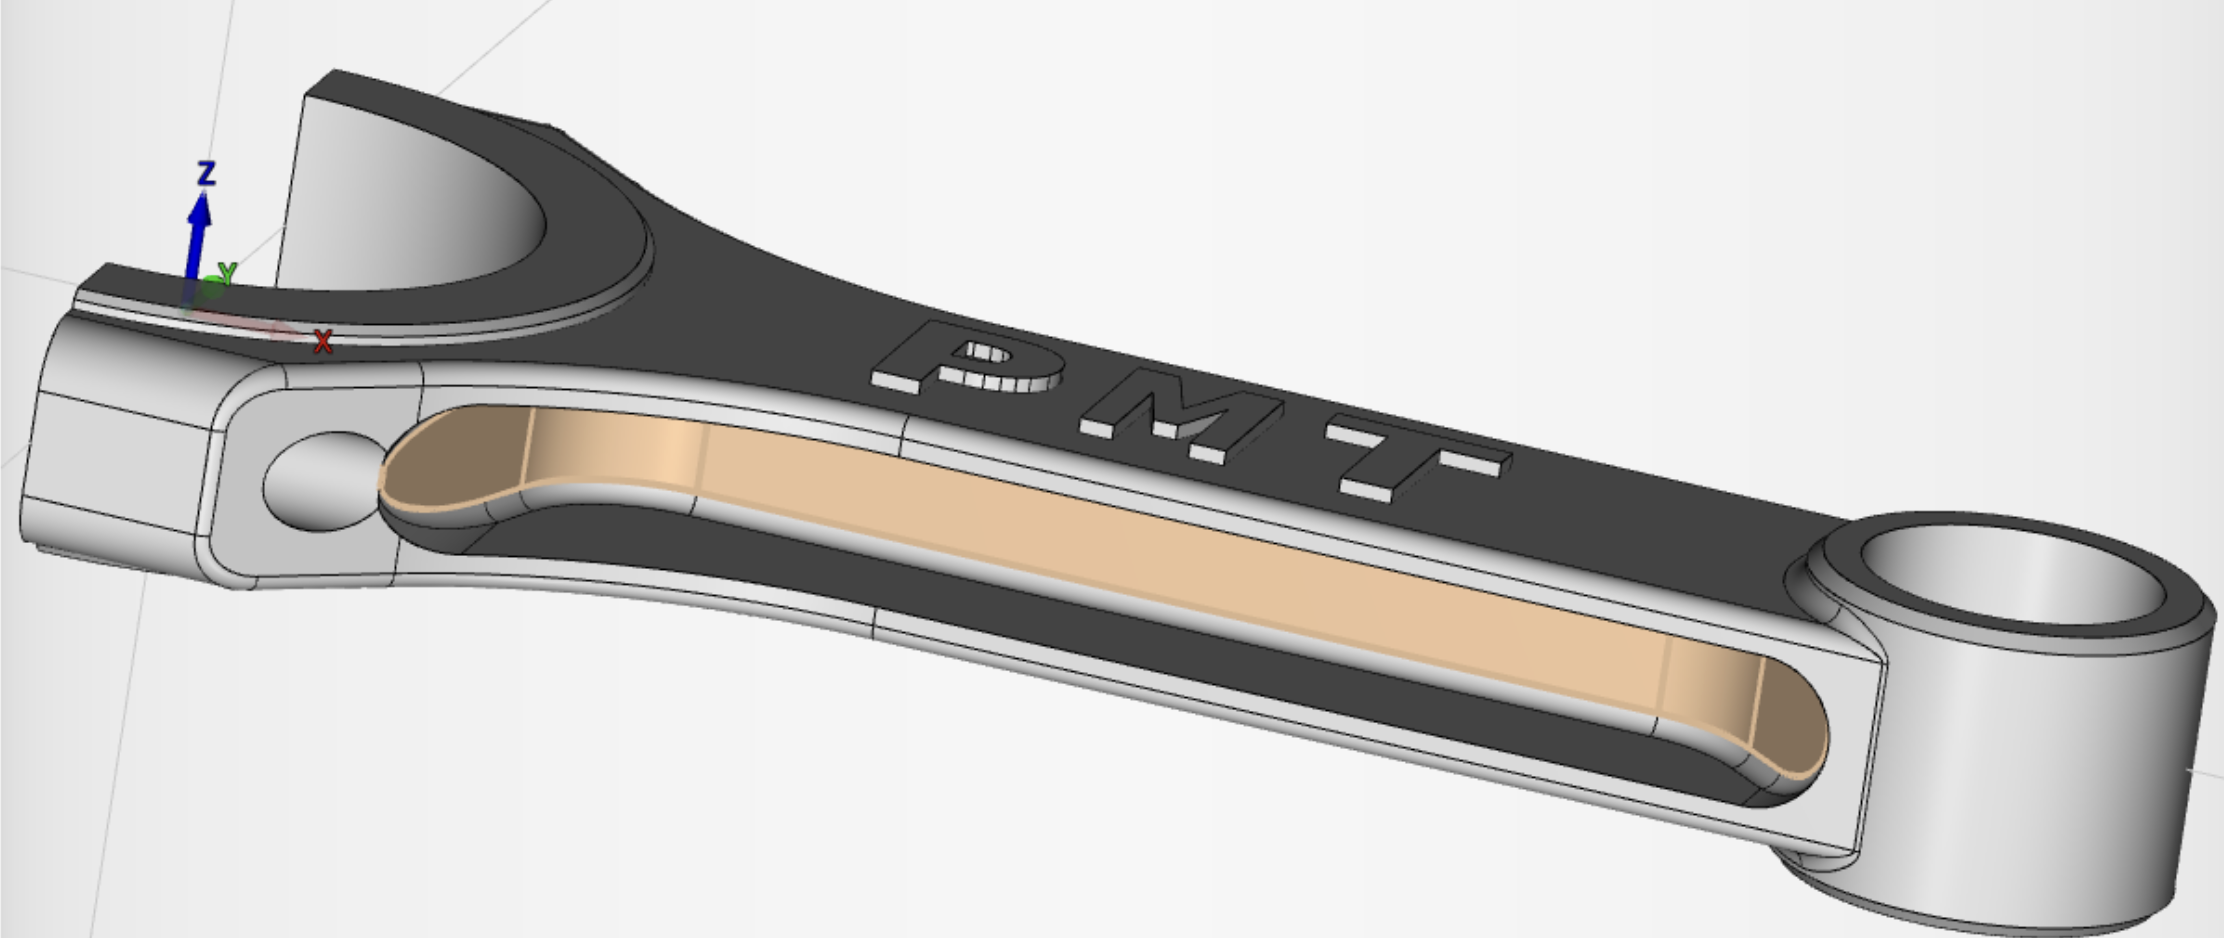
In this scenario, we would need a continuous drive surface for us to apply our Freeform finishing operation to. We would start off by selecting our surfaces.
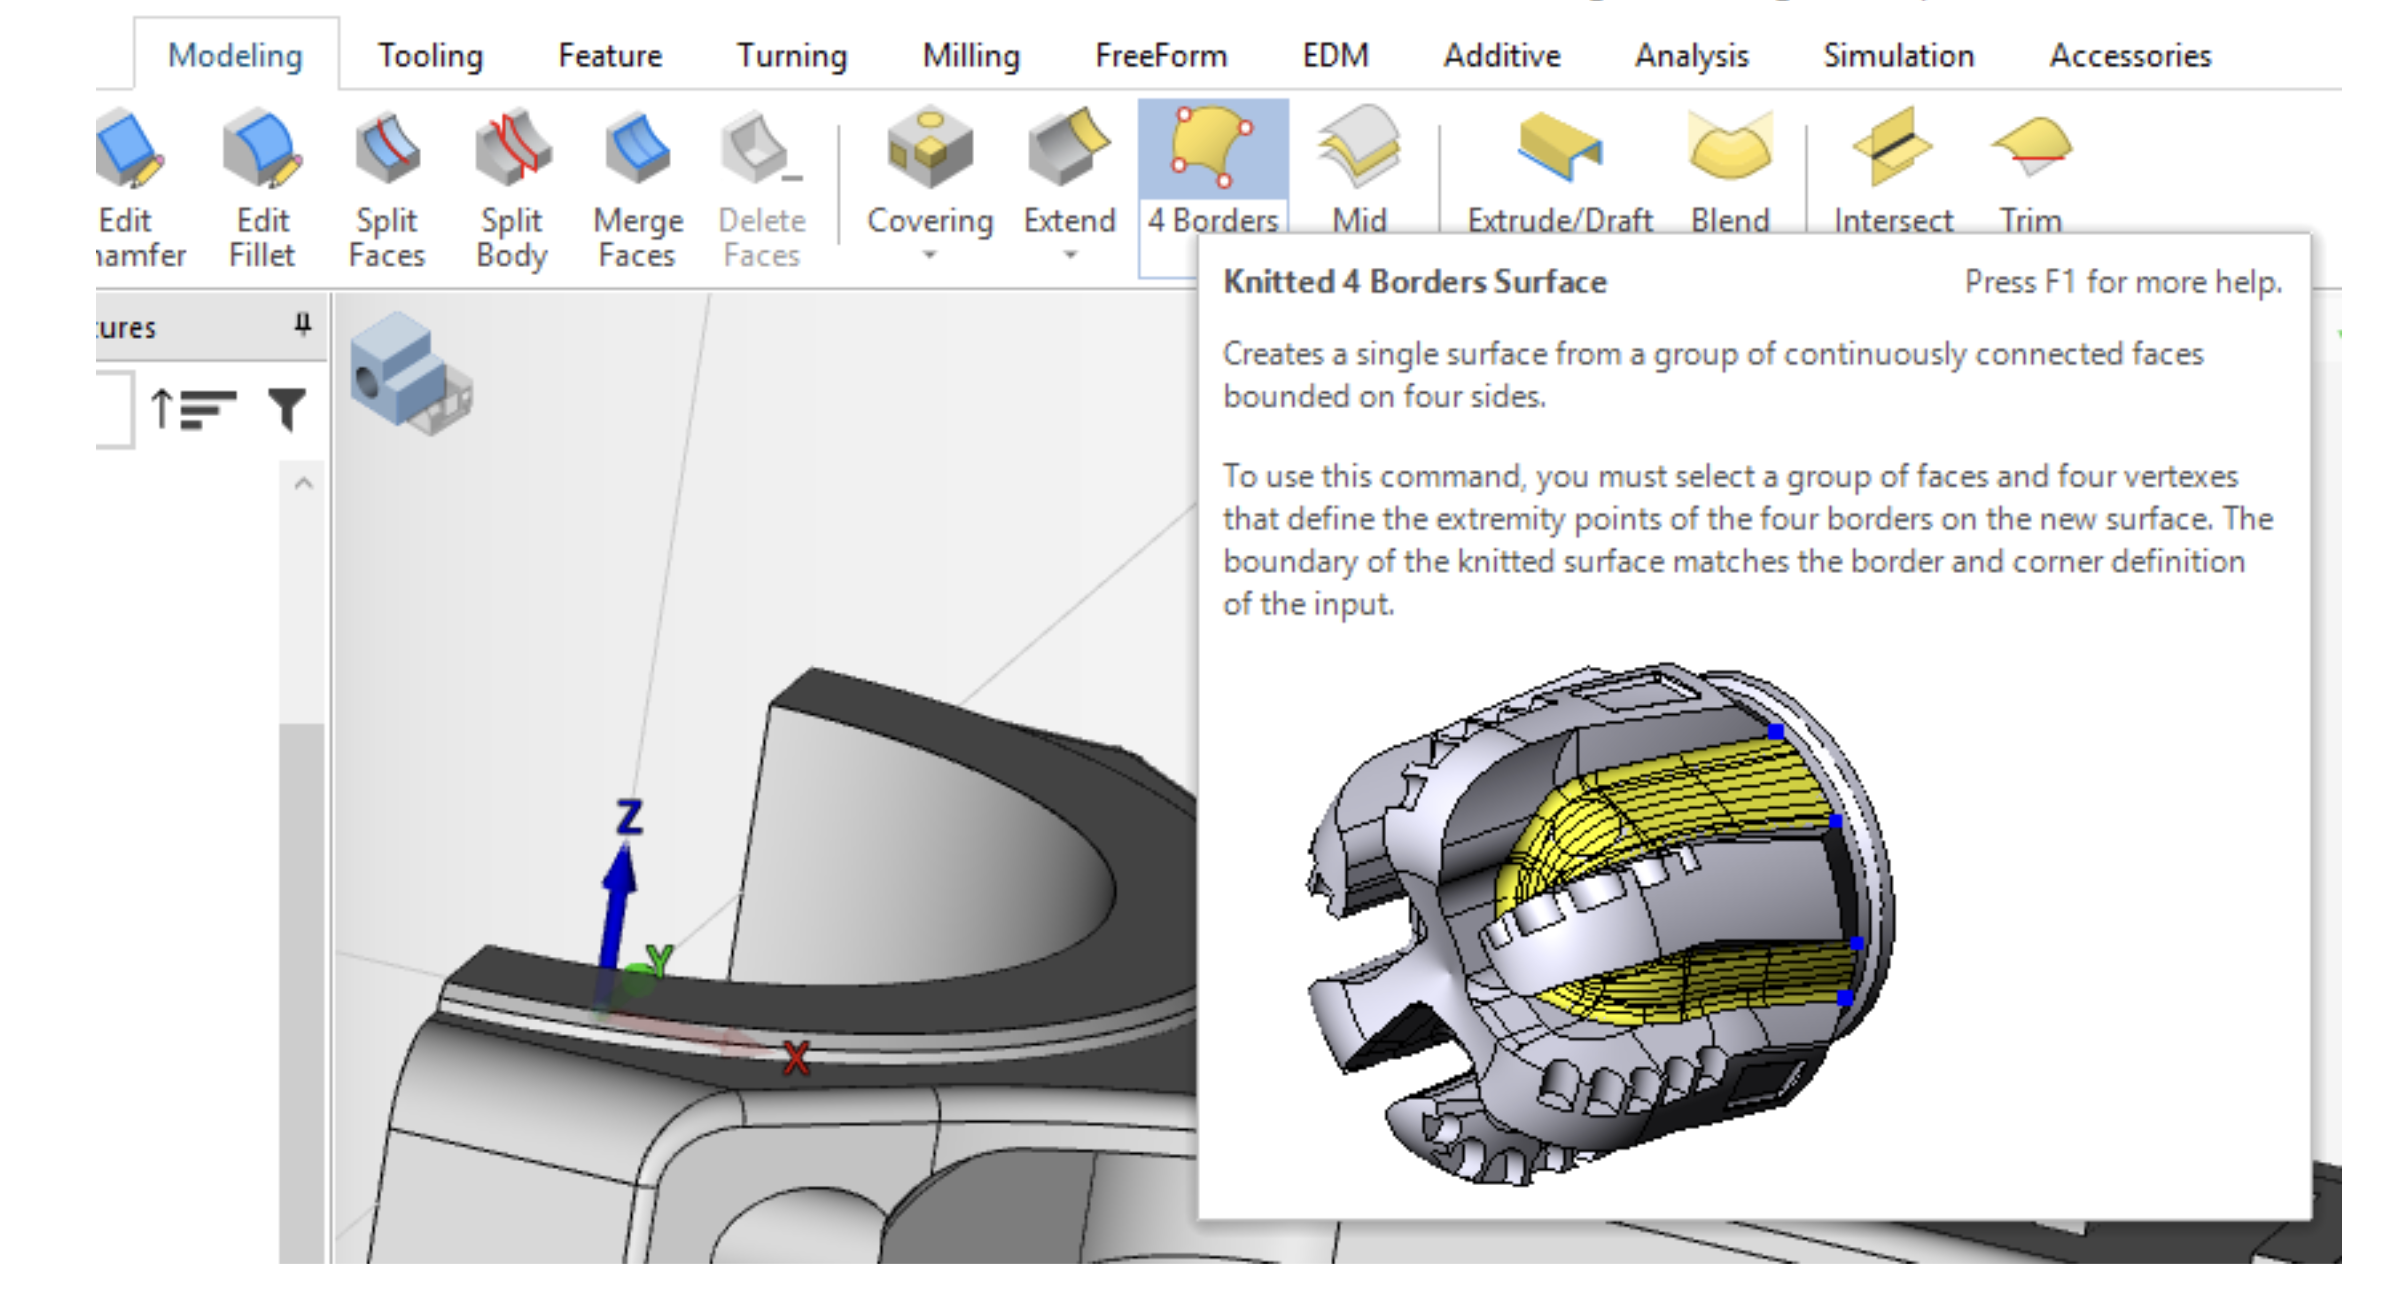
Next, On the Modeling toolbar, We will select Knitted 4 Border Surface,
Quick selection breakdown
Tolerance: Controls the accuracy when calculating the surface.
Smooth Surface: When set to yes, variations in the surface normals are Smoothed to improve the quality of 5-aixs tool path.
Edge Synchronization: Typically Enabled, this helps give better edge definition on models where more than one edge is present.
Max Tangency Deviation: When 'Edge Synchronization' is set to 'Yes', multiple edges on a border are considered connected if the tangency between the edges is less than the maximum deviation angle.
Corner Connection: This will extend the edges at a rounded corner to create a sharp corner.
Border Connection: Used if you want the knitted surface to cover gaps in the outer borders of selected solid faces
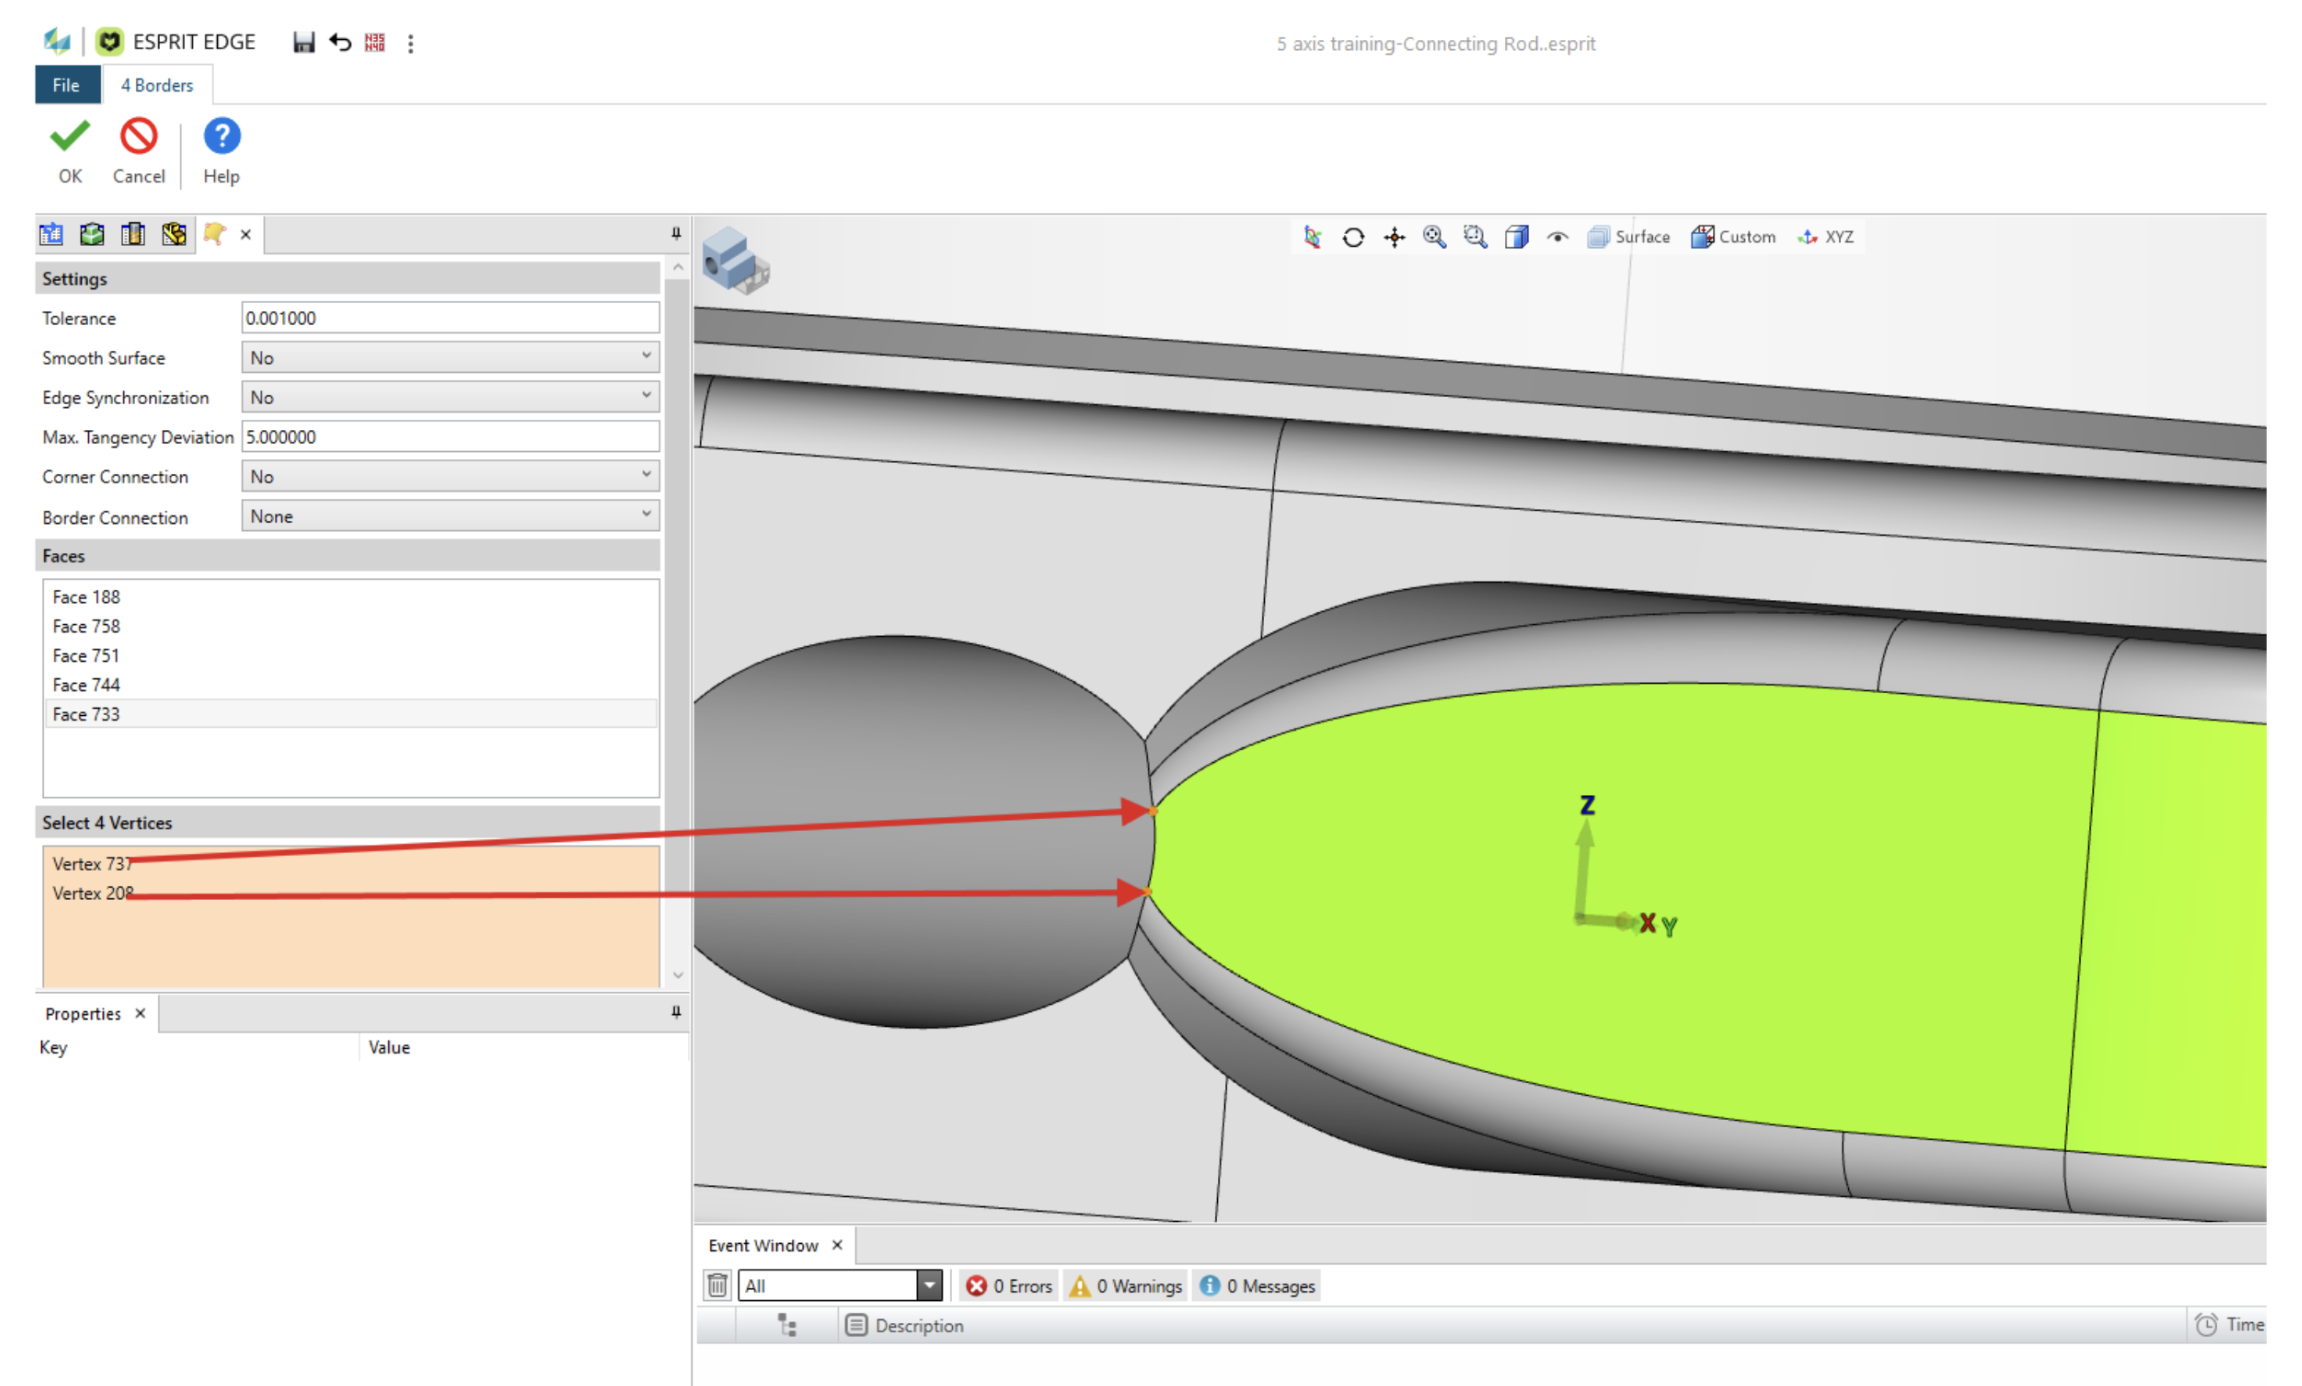
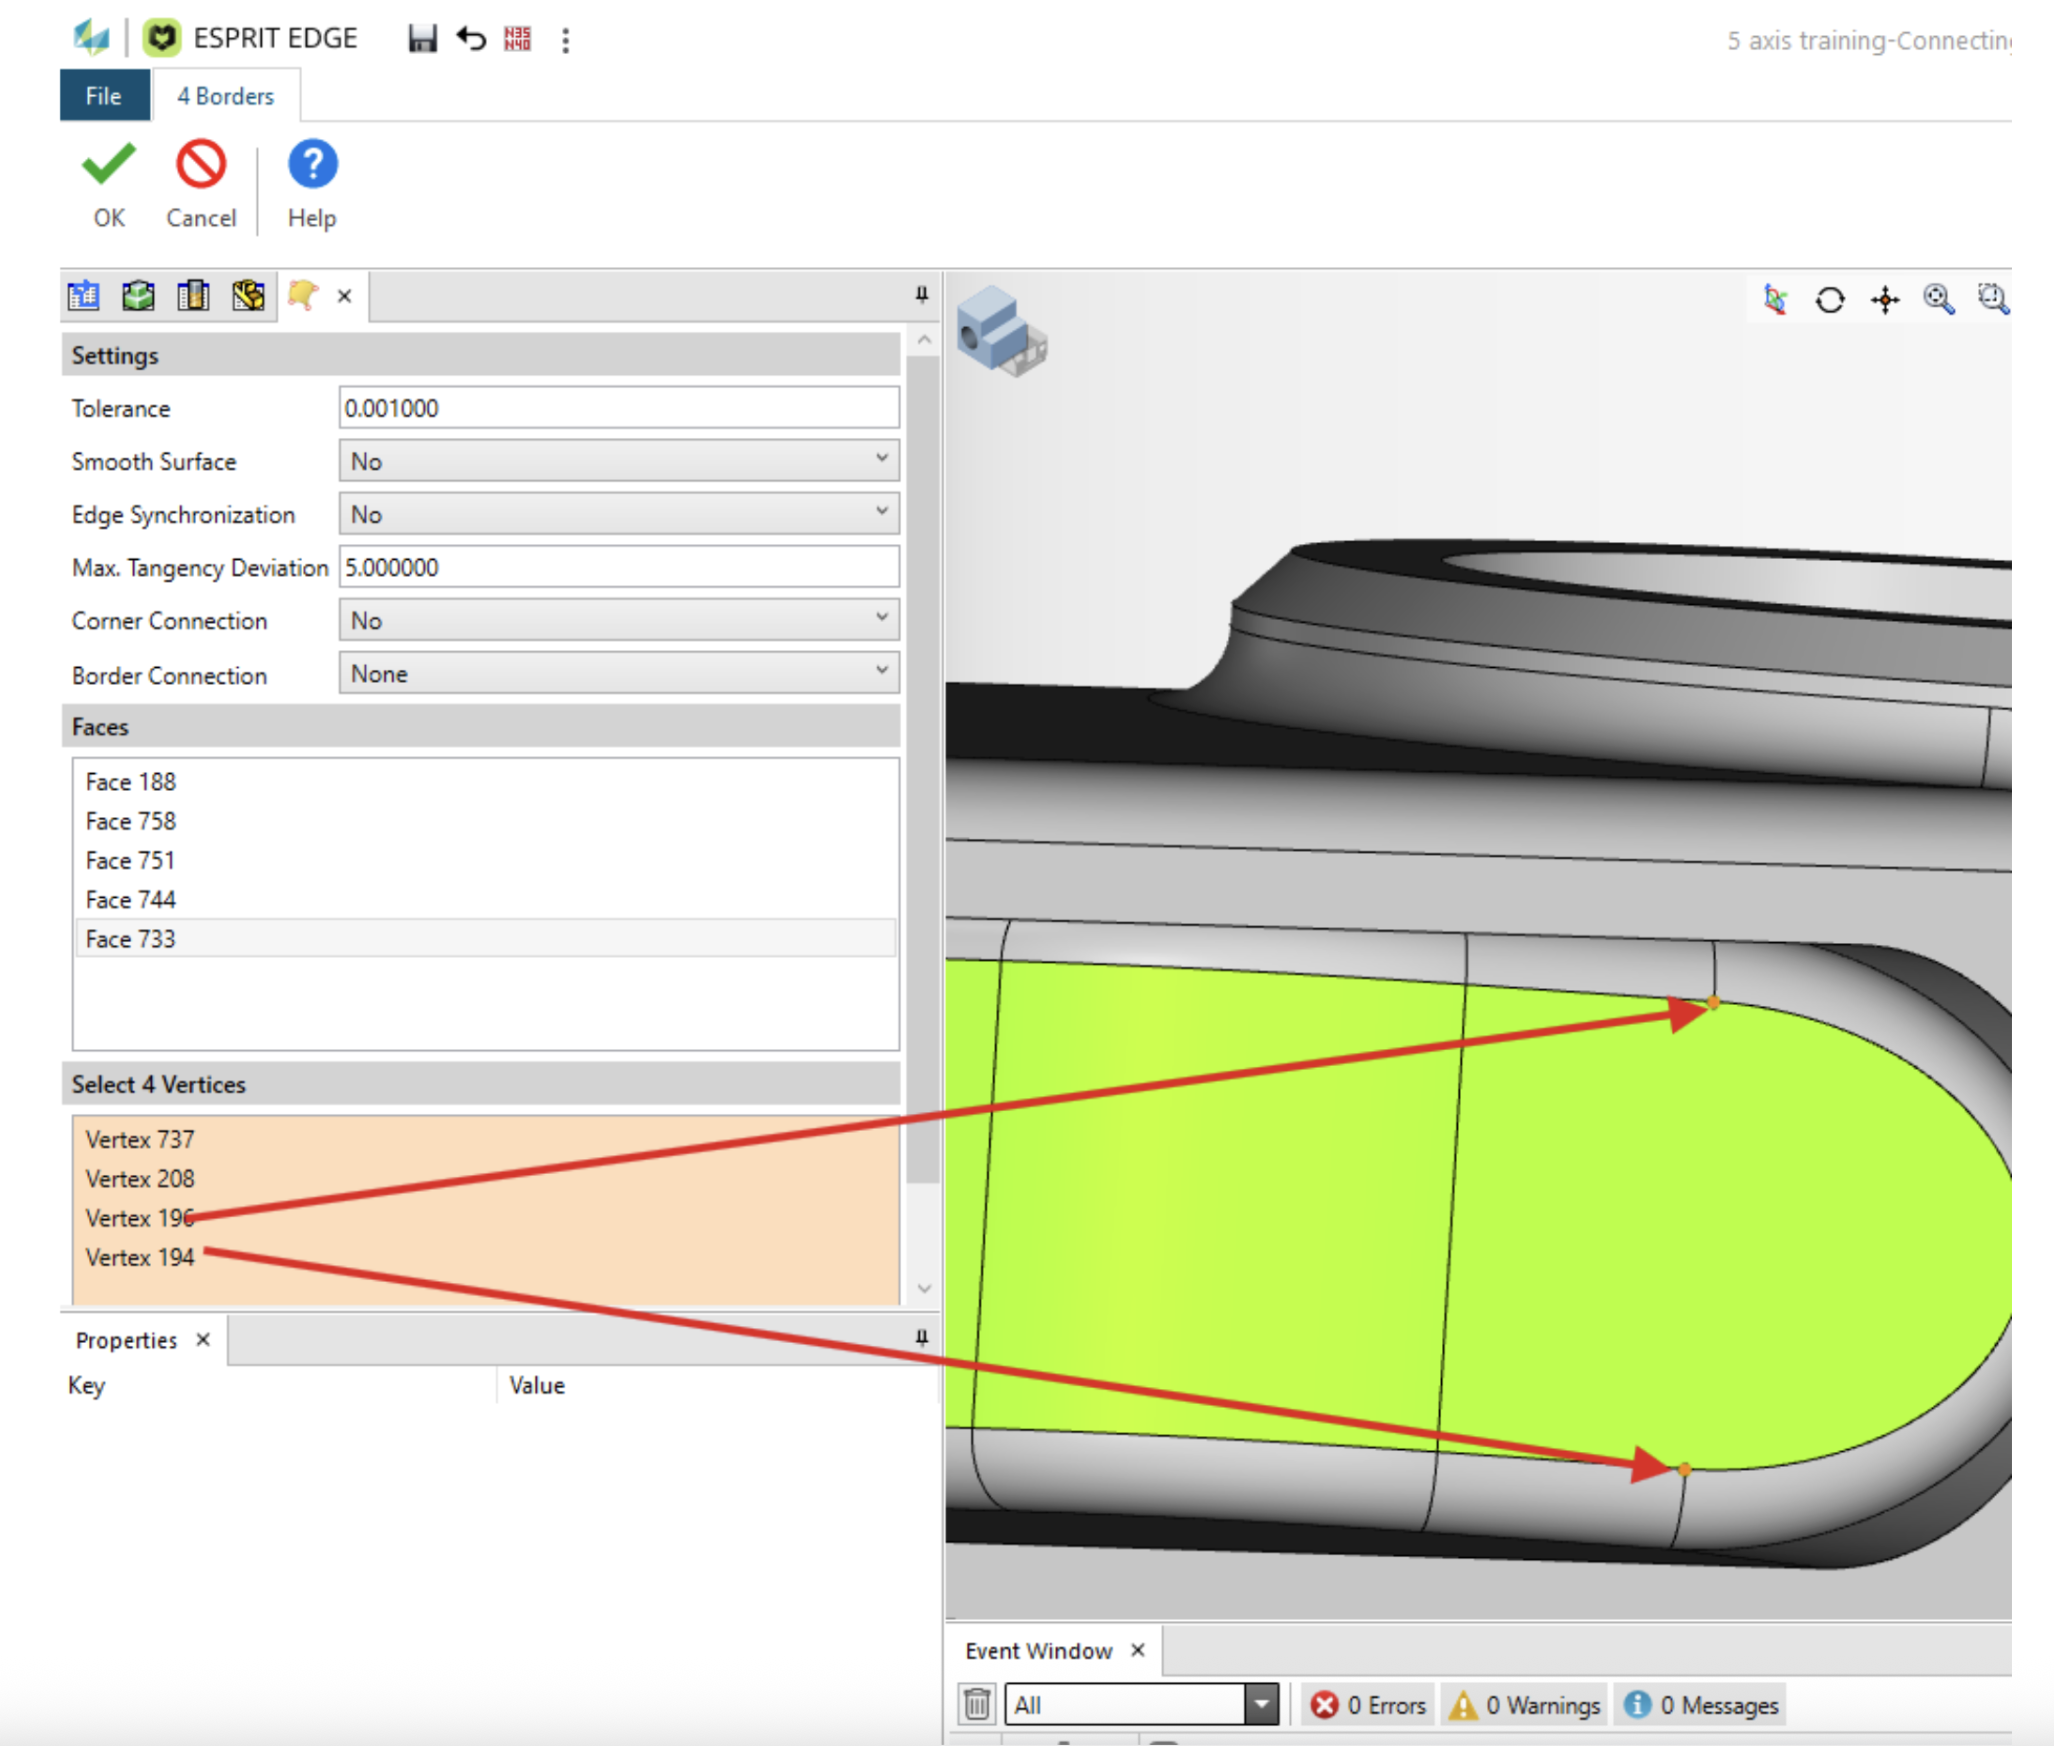
Since we have already selected the faces that we want to create a surface for, they will populate in the Faces section.
Finally, we will want to select our 4 vertices. Generally, you will want to select the 4 outer-most points of the faces to create an accurate surface. But that doesn’t always have to be the case.
Selecting 2 points that are on the extremities of the face, followed by 2 points that are further away from the opposite edge, will still yield a usable drive surface.
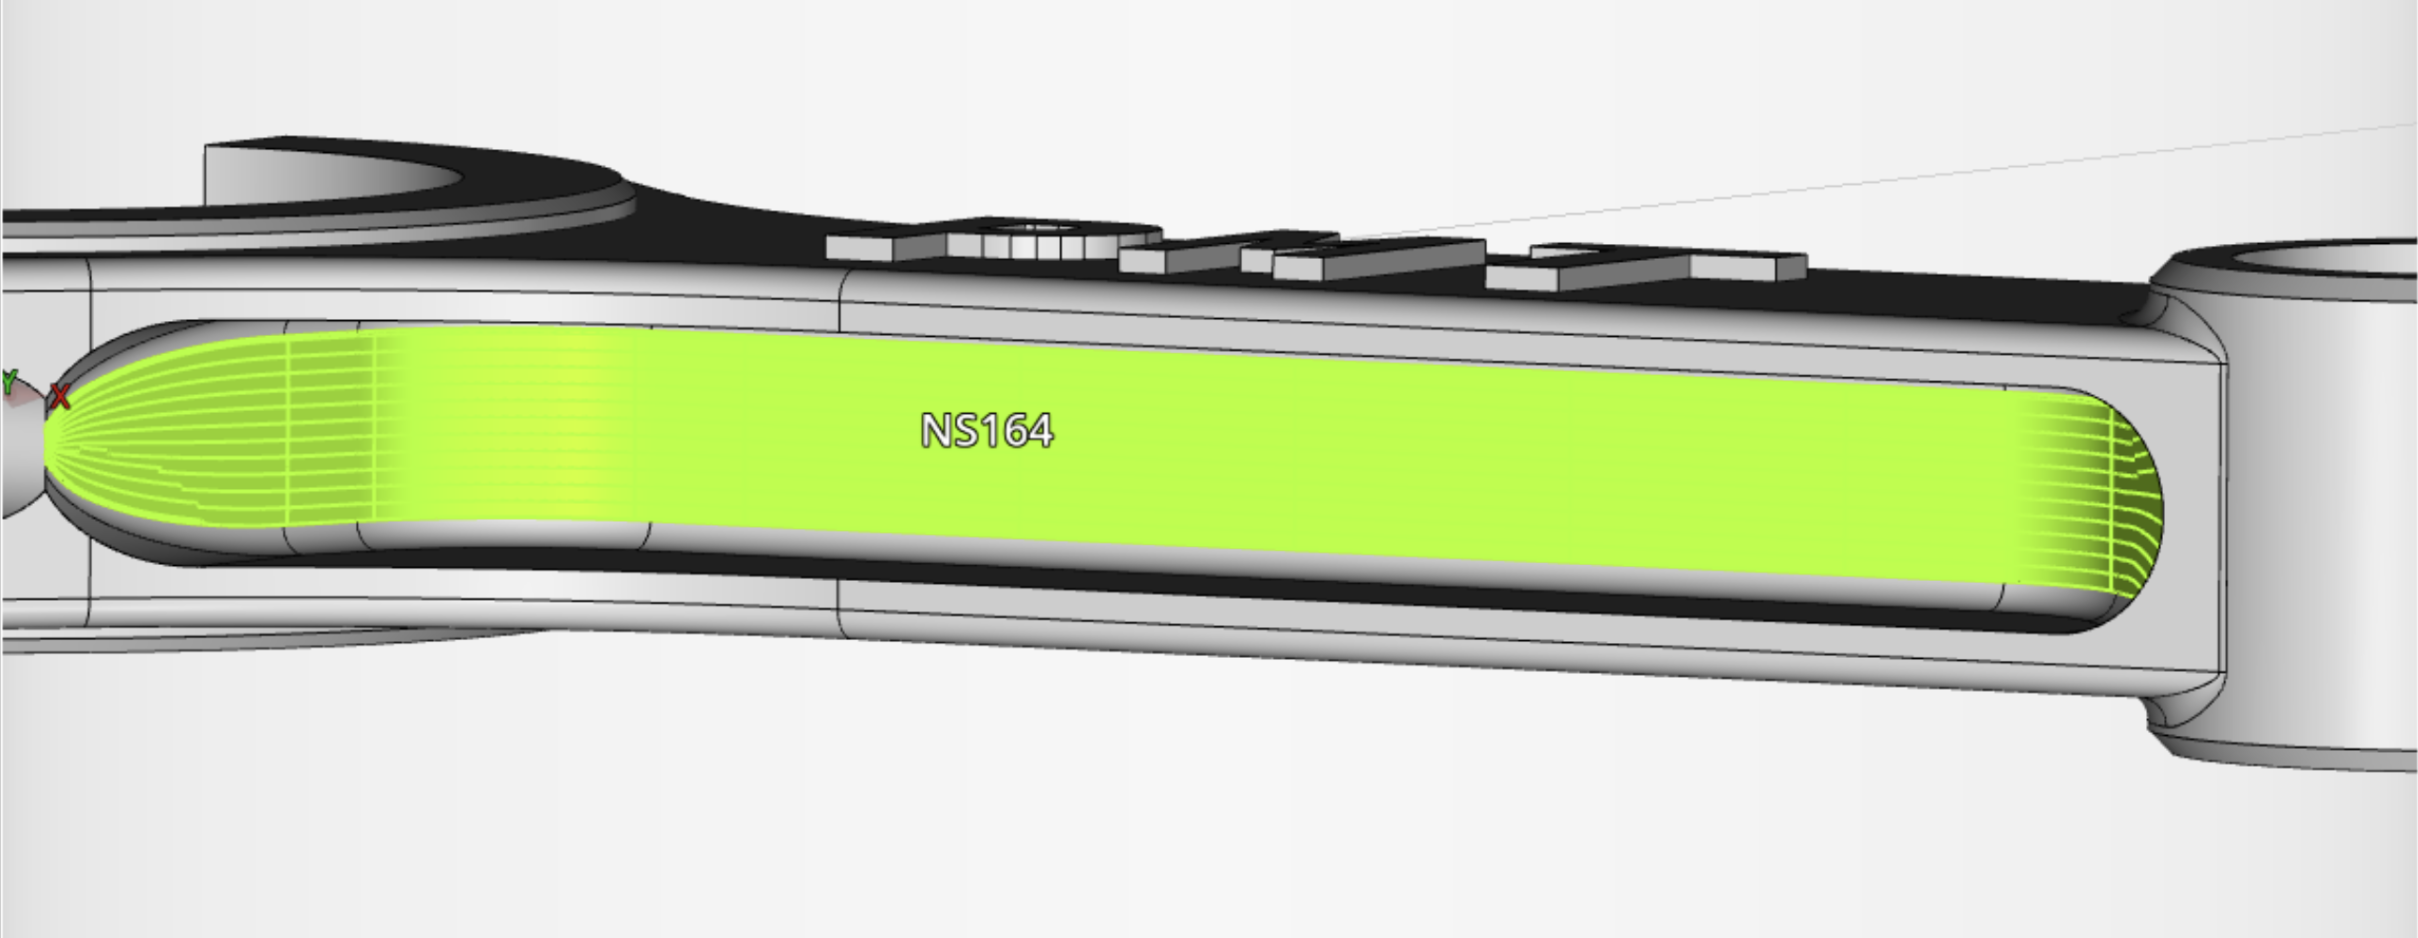
Select Ok,and find your newly created surface
I would encourage you to give this method a try the next time you want to create a surface Inside of ESPRIT Edge.
